


Straightaway Crafts editors feature items we personally select. Straightaway Crafts has affiliate relationships. If you buy something through our links we may get a small share of the revenue.

This Fall swag wreath that uses a coat hanger as a base cost me under $10 to make. If you have any dry cleaning hangers your base is free. I bought everything to make it except the hanger at Dollar Tree.

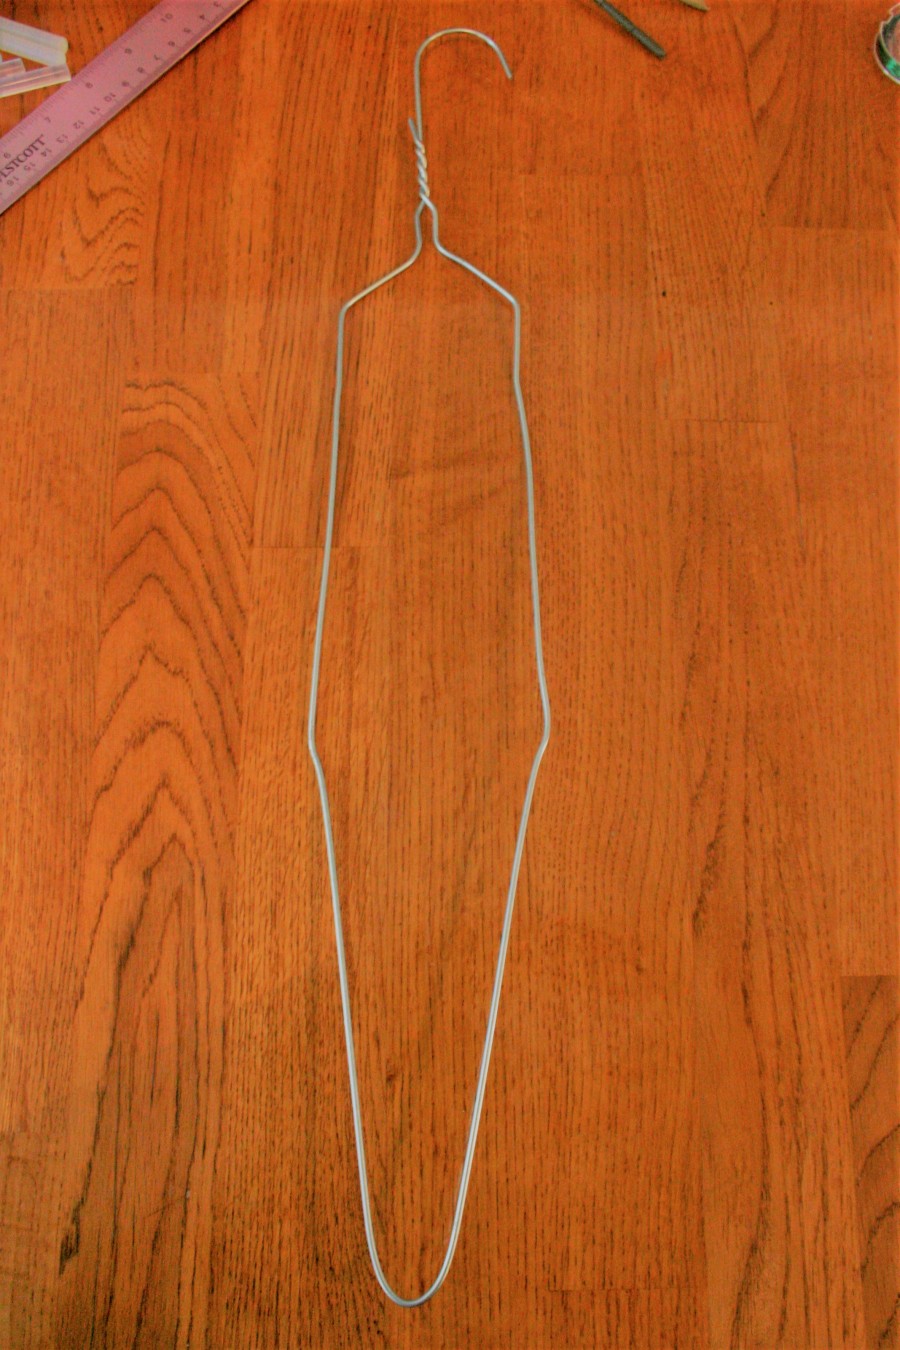
First stretch out your hanger vertically.
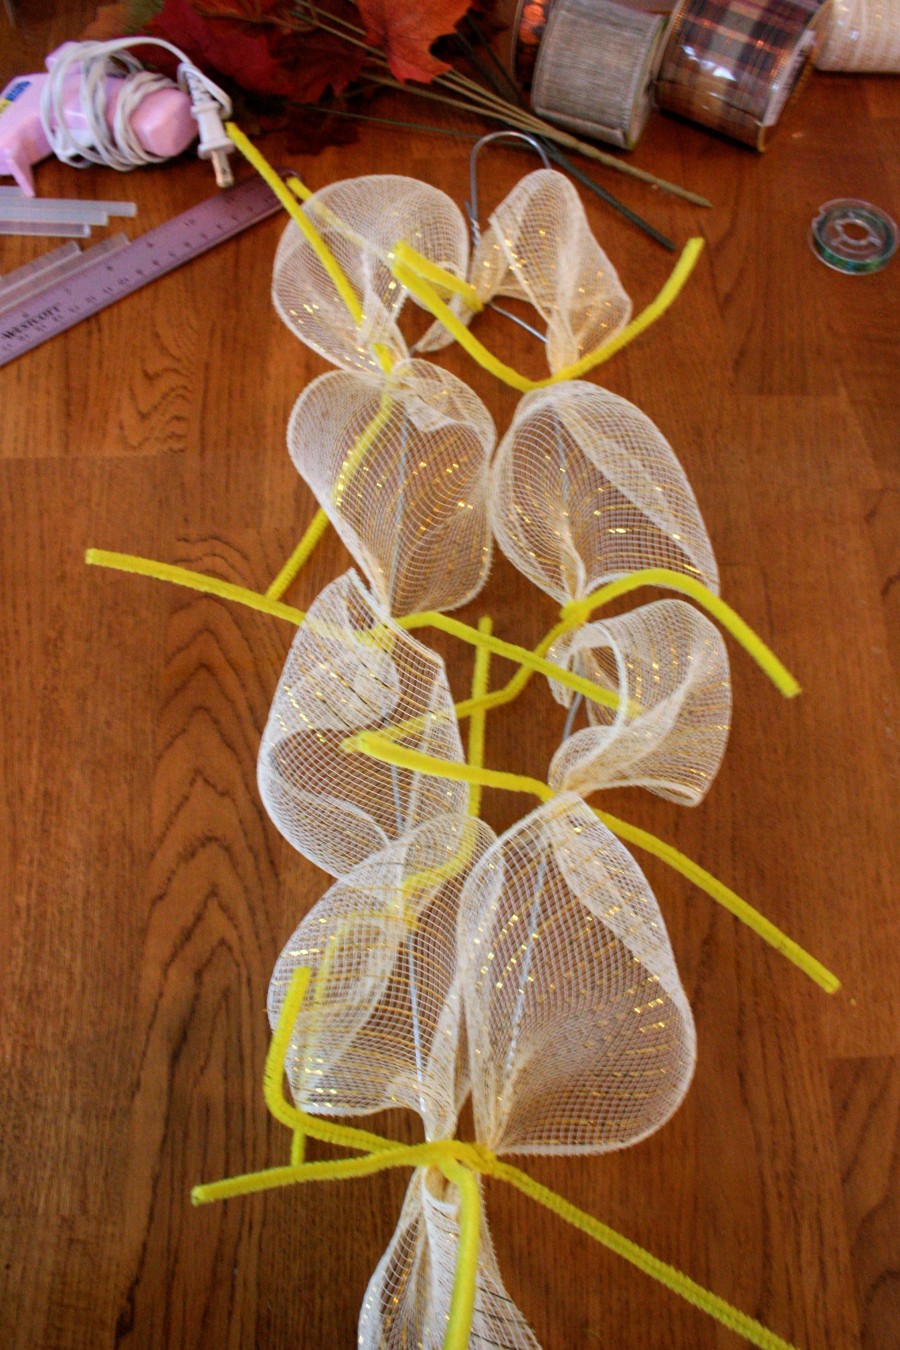
Start at the bottom of the coat hanger, gather the deco mesh leaving a short tail and then twist your chenille stem around the mesh and wire to secure.

Next make a small pouf and tie on another chenille stem twisting each stem three times. Continue adding more poufs around the hanger until it’s covered. I made eight poufs.

Next, cut pieces of the remaining deco mesh until they form rolls after curling in on themselves.
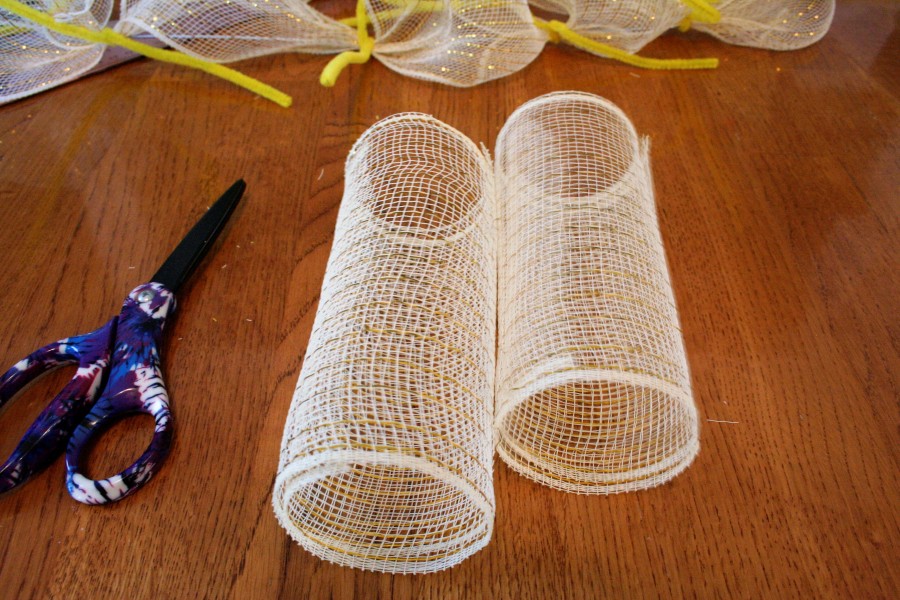
Now take two mesh rolls and unfurl one pinch it in the center and then take a second piece unfurl it and pinch the first piece in the middle then overlap the second piece in an X shape. Attach the pieces by tying them using the chenille stems again and twisting them three times to secure each piece.

After attaching the remainder of the deco mesh your swag style wreath will be more voluminous and will begin to take on a more finished appearance.

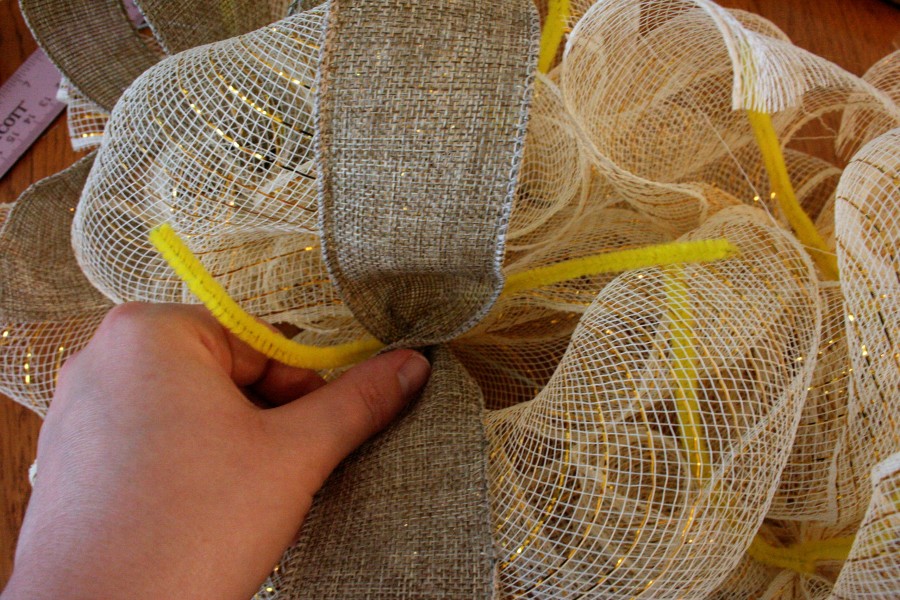
Next you’ll add more volume and some contrast of color and texture by attaching the wired burlap ribbon. Start by making a small loop and twisting it twice. Next attach the burlap ribbon beginning on the first chenille stem on the top left side of the wreath. Twist the chenille stem twice to secure the ribbon to the wreath.

Next you will cover the wreath with burlap ribbon by zigzagging your way down the wreath skipping every other chenille stem, twisting each stem twice to secure.
Twist the ribbon once before securing with the chenille stem twisting it twice each time. Cut the remaining tail of ribbon on a diagonal to finish.

Trim all the excess length from the chenille stems. Next, remove the leaves from the floral stems. At this time make a bow and attach it.
I love making bows with a Bowdabra (you may have noticed it hanging out in the background of some photos) and there are are endless Bowdabra video tutorials online. Bowdabra isn’t compensating me for my endorsement I just love it so, so much. I’ve mine it for a few years now and it’s definitely paid for itself. The bow on this wreath is made using 2 layered ribbons.
After attaching the bow begin to hot glue the leaves covering the chenille stems and adding them where you like. You’ll need to tidy up your wreath at this point by trimming any loose threads and removing spiderwebs of hot glue. Before you know it it’s finished and ready to hang. I used a 3M Oil Rubbed Bronze Command Hook to hang mine.
Supplies And Materials List:
Wire Coat Hanger
8 Chenille Stems
One 9 Foot Roll of 2″ Wired Burlap Ribbon
One 9 Foot Roll of 2″ Wired Ribbon
One 9 Foot Roll of 1/2″ Ribbon
One Fall Leaves Artificial Greenery
Two 5 Yard Rolls Of Deco Mesh (Or Ten Yards Of Deco Mesh)


[…] using a wire coat hanger to make a swag style wreath. The first time I showed how to make a Fall swag wreath. After finishing this swag I realized that it would also make a great Easter centerpiece. Below […]
LikeLike
[…] until Halloween and we are continuing our countdown with a Halloween DIY tutorial. I made a similar swag wreath last Fall. I decided to make swag wreath using a wire coat hanger again for […]
LikeLike
[…] decor you’re in the right place. If you’d rather be decorating for Fall view our Fall swag wreath. I’ve made a similar wreath before with an identical base. This style of wreath is fast and […]
LikeLike
Thank you for the great ideas for my 1,001 wire hangers. I also love your swag, it’s so homey and adorable.
LikeLiked by 1 person
[…] $6 and make a few different projects. You can also substitute 6 inch deco mesh like I used in my most popular wreath tutorial. A project list of supplies and materials is provided at the end of this […]
LikeLike
[…] If you’re ready to get started on Christmas decor you’re in the right place. If you’d rather be decorating for Fall view our Fall swag wreath. […]
LikeLike
[…] using a wire coat hanger to make a swag style wreath. The first time I showed how to make a Fall swag wreath. After finishing this swag I realized that it would also make a great […]
LikeLike
[…] #4. DIY Deco Mesh Fall Wreath By Straight Away Crafts | Via […]
LikeLike
[…] #4. DIY Deco Mesh Fall Wreath By Straight Away Crafts | Via […]
LikeLike
[…] Fall Swag: What a fun Fall decor. This fall Deco Mesh swag is cute, easy, and adds the perfect piece of charm to your fall table. […]
LikeLike
Thank you for including us in your list!
LikeLike
[…] DIY Deco Mesh Fall Swag […]
LikeLike